Docs
Welcome
All Aboard is a plug-and-play, fully customizable AI chat system with a native Android SDK (Compose UI).
Overview:
- Create a new product.
- Include the SDK dependency in your Android project.
- Customize the composable.
- Generate a user access token for each of your users from your server.
- Pass the user access token to the SDK
Create a Product
Each AI chat experience you create is called a product. Select Products. Give it a unique name and a custom AI prompt.
AI Providers
Bring your own API key from OpenAI or Anthropic. We use your key to make API requests on your behalf. You pay and manage your AI provider bills outside of us (separately).
Example: You choose OpenAI as your provider. You copy your API key from your OpenAI account and paste it into your All Aboard product. When one of your users chats with AI, we use your API key to make the request to your provider on your behalf. We then store the result to their conversation history and return the result to their UI.
Storage
We store user conversations in the cloud. You can clear a user's conversation history by calling
AllAboardSettings.deleteBackendConversationHistory or users can manually delete their history via All Aboard Android UI settings.
Android Integration
Add this to your settings.gradle:
repositories {
    maven {
      url = uri("https://www.allaboardsdk.com/maven/")
    }
}
Add this permission to your AndroidManifest.xml:
<uses-permission android:name="android.permission.INTERNET" />Then add the SDK dependency:
implementation("com.jstrongly.allaboard:allaboard:1.0.2")
Launching the Chat UI
Use the AllAboardChatComposable:
class MainActivity: AppCompatActivity() {
  override fun onCreate(savedInstanceState: Bundle?) {
    super.onCreate(savedInstanceState)
    setContent {
      AllAboardChatComposable(
        // Customize here
      )
    }
  }
}
Customize with ChatUiSettings:
AllAboardChatComposable(
  chatUiSettings = ChatUiSettings(
    headerText = "Custom AI Chat",
    backgroundColor = Color.Gray,
    userMessageTextColor = Color.Black,
    userMessageContainerColor = Color.Green,
    assistantMessageTextColor = Color.Gray,
    assistantMessageContainerColor = Color.DarkGray,
    textFieldBorderWidth = 1.dp,
    sendBtnImg = R.drawable.custom_send_button,
    // 50+ more available
  )
)
Or use a default theme as a starting point:
chatUiSettings = ChatUiSettings.blueTheme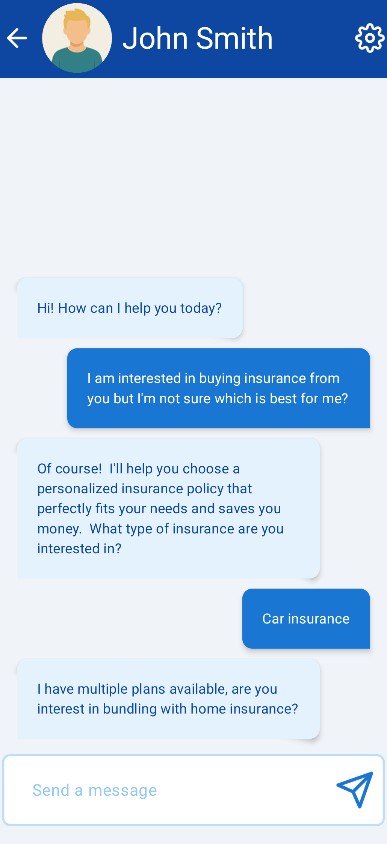
chatUiSettings = ChatUiSettings.redTheme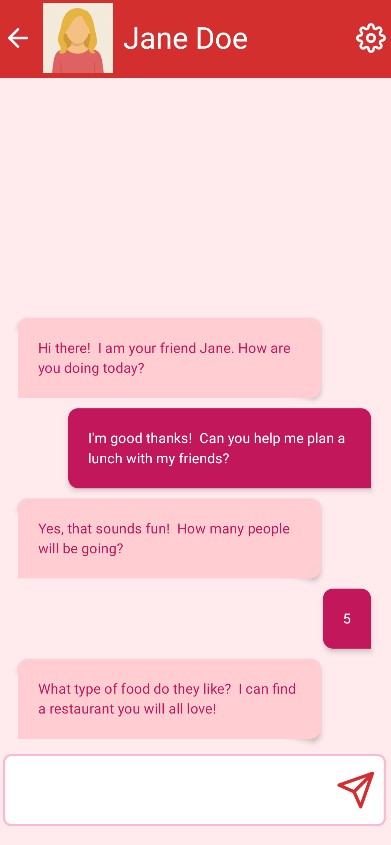
chatUiSettings = ChatUiSettings.pirateTheme
chatUiSettings = ChatUiSettings.highTechTheme.copy(
  // Your customizations here
)
chatUiSettings = ChatUiSettings.spyMovieTheme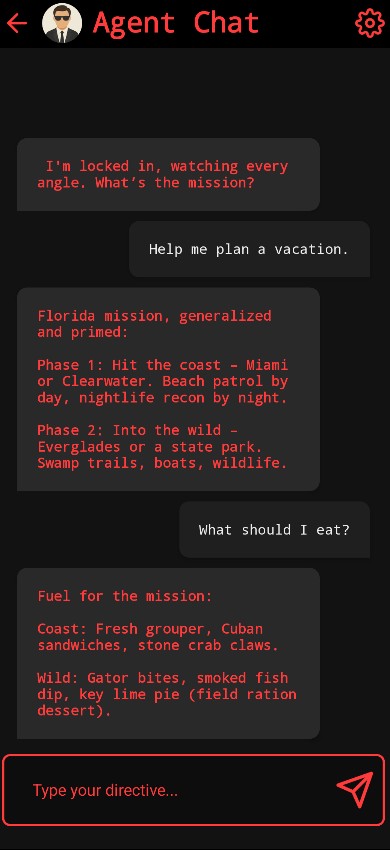
User Authentication - Android
The All Aboard Android SDK requires a separate userAuthToken for each user. During development, you can hardcode the standard testing token found by clicking "Copy testing userAuthToken" on the product screen.
// Pass it directly into the composable
AllAboardChatComposable(
  userAuthToken = TESTING_USER_AUTH_TOKEN_HERE
)

// Or set the token anytime using your own logic
AllAboardSettings.saveOrOverwriteUserAuthToken(
  context = applicationContext,
  token = TESTING_USER_AUTH_TOKEN_HERE
)

// The SDK will store the token locally.
For production, you'll need to generate a userAuthToken for each user. To setup the SDK to get a new token from your server:
// onUserAuthTokenRequired should return the userAuthToken string and is called if no local token is found. Once a token is stored, it is not called again.
AllAboardChatComposable(
    onUserAuthTokenRequired = {
        val result = AllAboardNetworkUtils.simplePostRequest(
            url = "https://yourServersUserAuthTokenGenerationEndpoint"
        )
        val token = JSONObject(result.response).optString("token", "")
        token
    }
)
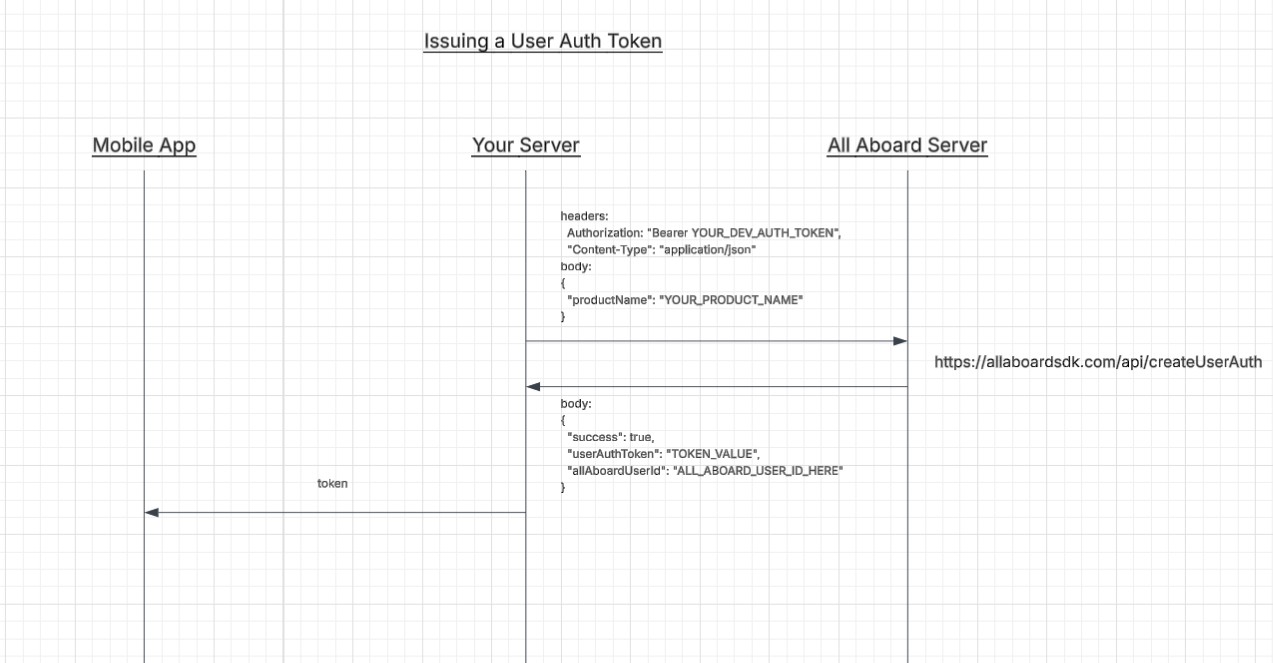
User Authentication - Server
To create a userAuthToken, make a POST request from your server to:
https://allaboardsdk.com/api/createUserAuthHeader:
(Copy your devAuthToken from the products webpage)
Bearer YOUR_DEVELOPER_AUTH_TOKEN_HEREBody:
{
  "productName": "YOUR_PRODUCT_NAME_HERE"
}
Response:
{
  "success": true,
  "userAuthToken": "TOKEN_HERE",
  "allAboardUserId": "ALL_ABOARD_USER_ID_HERE"
}

// Your backend should then send the newly created token to the specific user.
// Example: After your server registers a new user, hit /api/createUserAuth then return the token to the client Android app.
Example of an endpoint on your server that generates a userAuthToken and returns it:
// Serverside Javascript Endpoint (Firebase Function)

const functions = require("firebase-functions");
const axios = require("axios");

exports.generateAllAboardUserAuthTokenDemo = functions.https.onRequest(async (req, res) => {
  try {
    const response = await axios.post(
      "https://allaboardsdk.com/api/createUserAuth",
      {
        productName: "YOUR_PRODUCT_NAME_HERE"
      },
      {
        headers: {
          Authorization: "Bearer YOUR_DEV_AUTH_TOKEN_HERE",
          "Content-Type": "application/json"
        }
      }
    );

    const { success, userAuthToken } = response.data;

    if (!success || !userAuthToken) {
      return res.status(500).json({ success: false, error: "Failed to generate token." });
    }

    return res.status(200).json({ success: true, token: userAuthToken });

  } catch (error) {
    console.error("Error generating All Aboard token:", error);
    return res.status(500).json({ success: false, error: "Internal server error." });
  }
});
Setting a Specific User's Message Limit
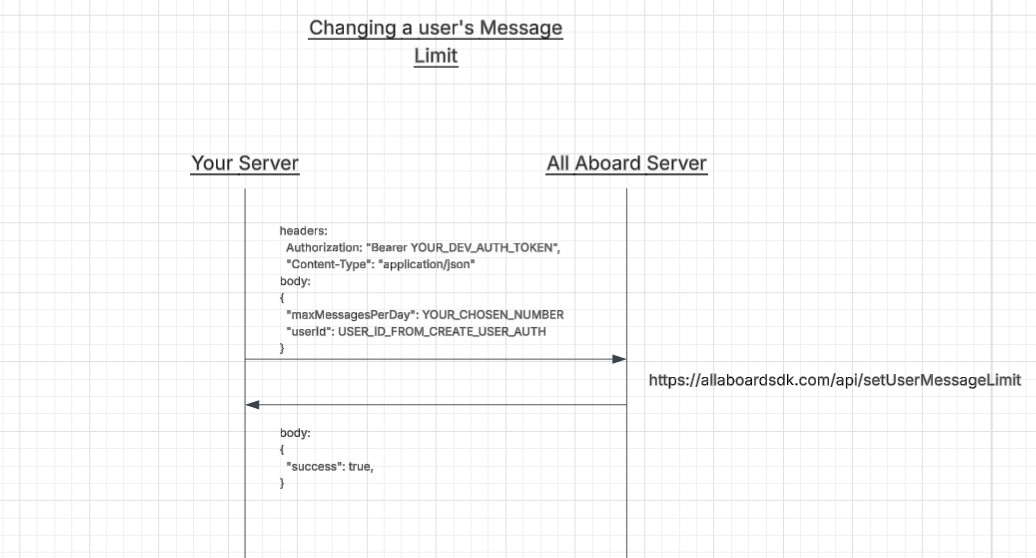
Let's say you offer a free and paid chat experience in your app. If a user is on the free tier, their limit will likely be lower than if they are on the paid tier. Make a request from your backend to this endpoint to update a user's limit.
https://allaboardsdk.com/api/setUserMessageLimitHeader:
(Copy your devAuthToken from the products webpage)
Bearer YOUR_DEVELOPER_AUTH_TOKEN_HEREBody:
{
  "maxMessagesPerDay": NUMBER_HERE,
  "allAboardUserId": "USER_ID_FROM_CREATE_USER_AUTH"
}
Response:
{
  "success": true
}
Observing Conversation Events
You can observe conversation events by passing lambda functions to:
- onConversationHistoryReceived
- onUserMessageSent
- onAssistantReplyReceived
AllAboardChatComposable(
  onConversationHistoryReceived = { history: List<ChatMessage> ->
      // History
  },
  onUserMessageSent = { message: String ->
    // Message
  },
  onAssistantReplyReceived = { reply: String ->
    // Reply
  },
  onEventReceived = { event: String ->
    // Generic events
    when(event) {
        "DAILY_MESSAGE_LIMIT_REACHED" -> { /* Handle message limit event here */ }
        else -> {}
    }
  }
)
Pricing
Billing is based on total messages and number of products. In the left panel, select Subscription or keep using the free plan.
Android Project Compatibility
To ensure smooth integration with your Android app, please review the following version compatibility guidelines:
Minimum Requirements
- Kotlin: 1.9.0 or higher
- Android Gradle Plugin (AGP): 8.1.0 or higher
- Jetpack Compose: Compatible with Compose BOM 2024.02.01 or newer
- Compile SDK: 33 or higher (SDK is built with compileSdk = 35)
- Min SDK: 24 (Android 7.0)
Compose BOM Compatibility
This SDK uses the Jetpack Compose BOM for dependency version alignment:
api(platform("androidx.compose:compose-bom:2024.02.01"))If your project already uses a newer Compose BOM, simply include your own version before the SDK in your dependencies block to override:
implementation(platform("androidx.compose:compose-bom:YOUR_VERSION")) // Your BOM version
implementation("com.jstrongly.allaboard:allaboard:1.0.2")           // SDK